How Custom Vinyl Plush Toys Are Made: The Factory Process Step by Step
A step-by-step look at how a custom vinyl plush toy goes from artwork to shipped carton, including sculpting, rotocasting, painting, sewing and QC.
1. Artwork and design review
Production starts with your artwork: a front view, or ideally a turnaround showing front, side and back. The factory checks wall thickness, part breakdown and paint steps so the design can be made at your target price.
2. 3D sculpting and printed master
Sculptors build the vinyl parts digitally and send renders for approval. An approved file is 3D printed at high resolution to create the master used for mold making.
3. Rotocasting molds
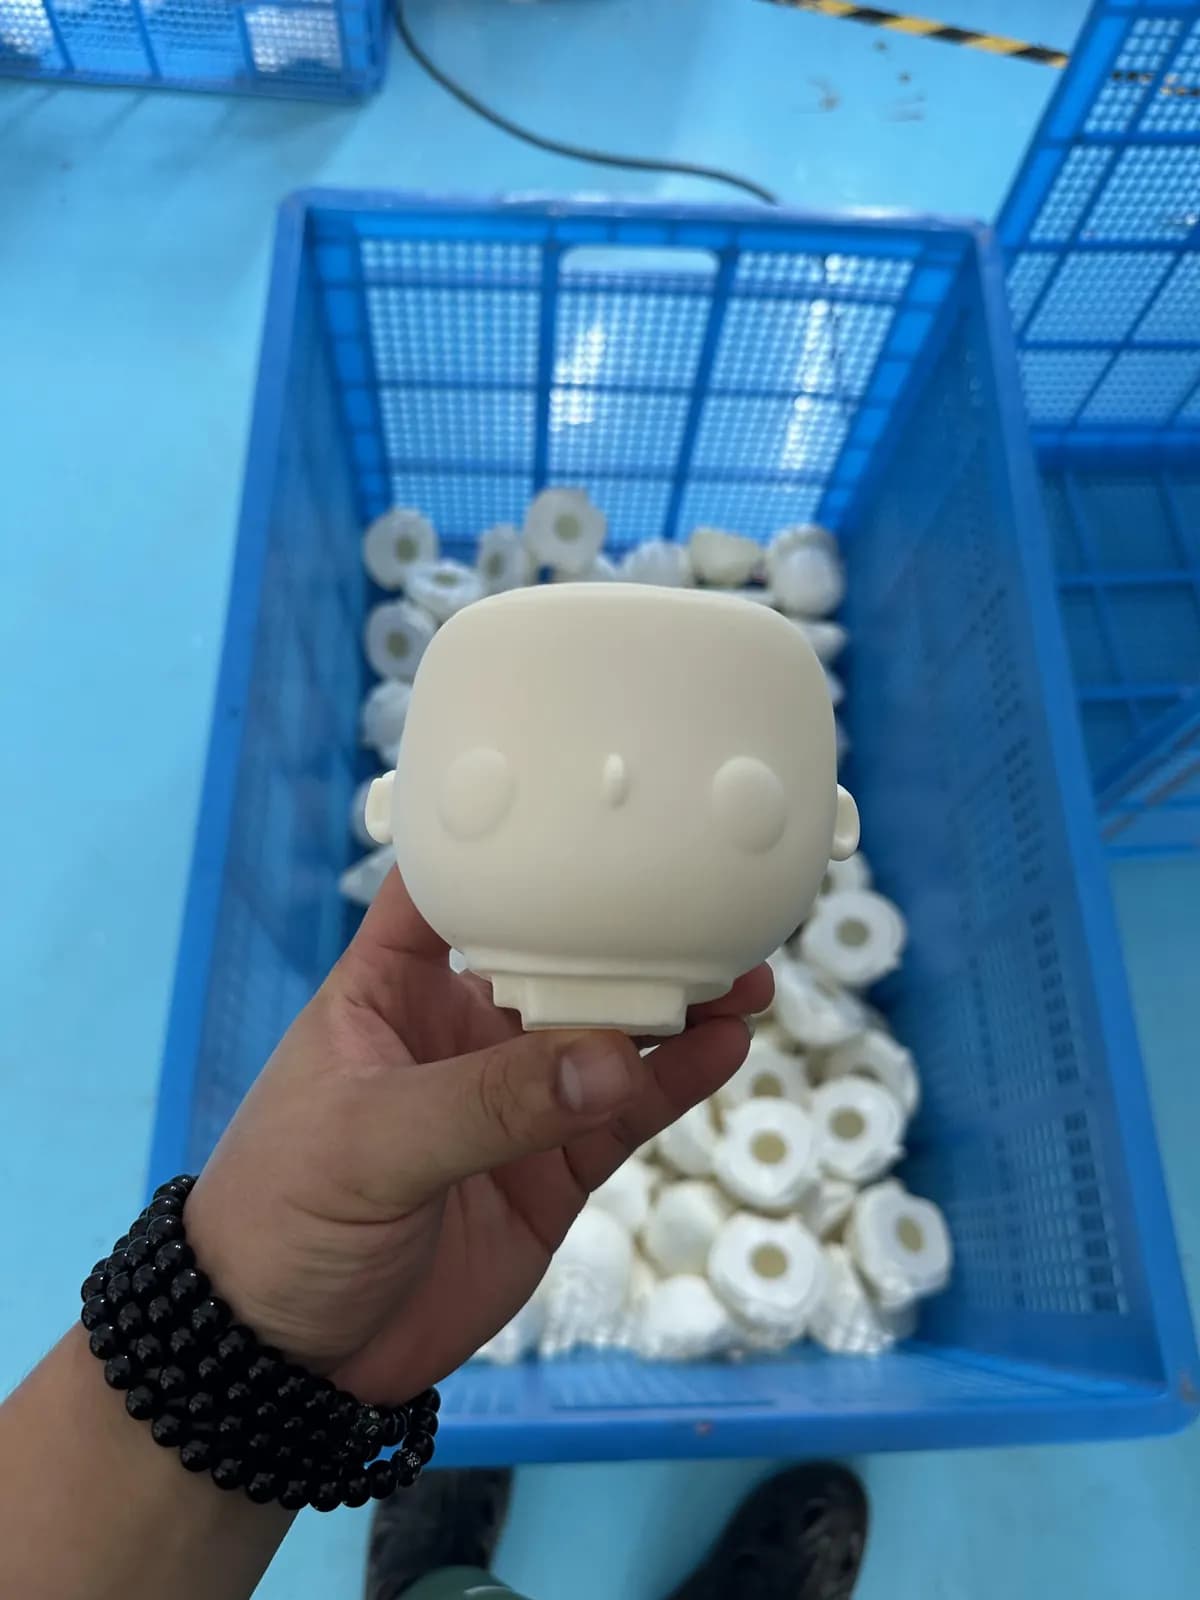
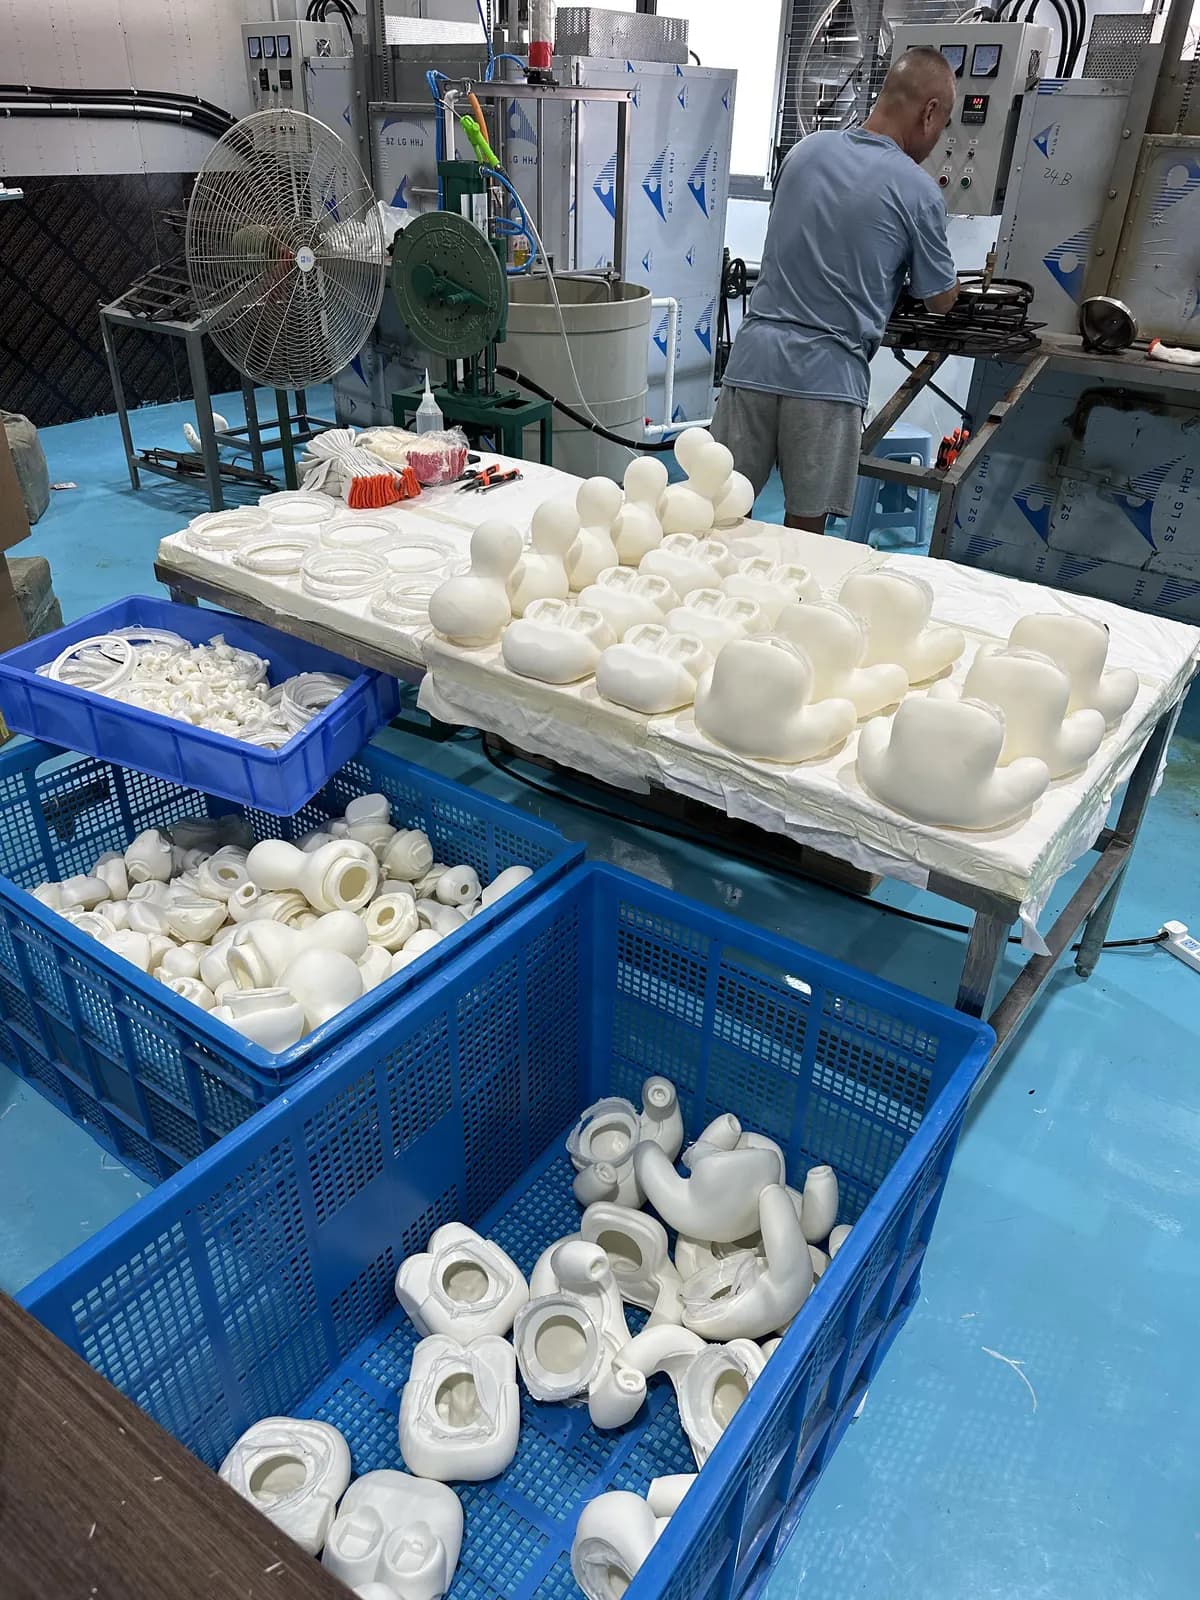
Copper molds are electroformed from the master, or steel molds are machined for simpler shapes. Each mold is filled with liquid PVC paste, rotated and heated so the paste coats the inside evenly and cures.
4. Trimming and finishing
Cast parts are demolded, trimmed and deburred. Vibratory polishing smooths edges, and every piece is checked for bubbles, thin walls and color shifts.
5. Painting and printing
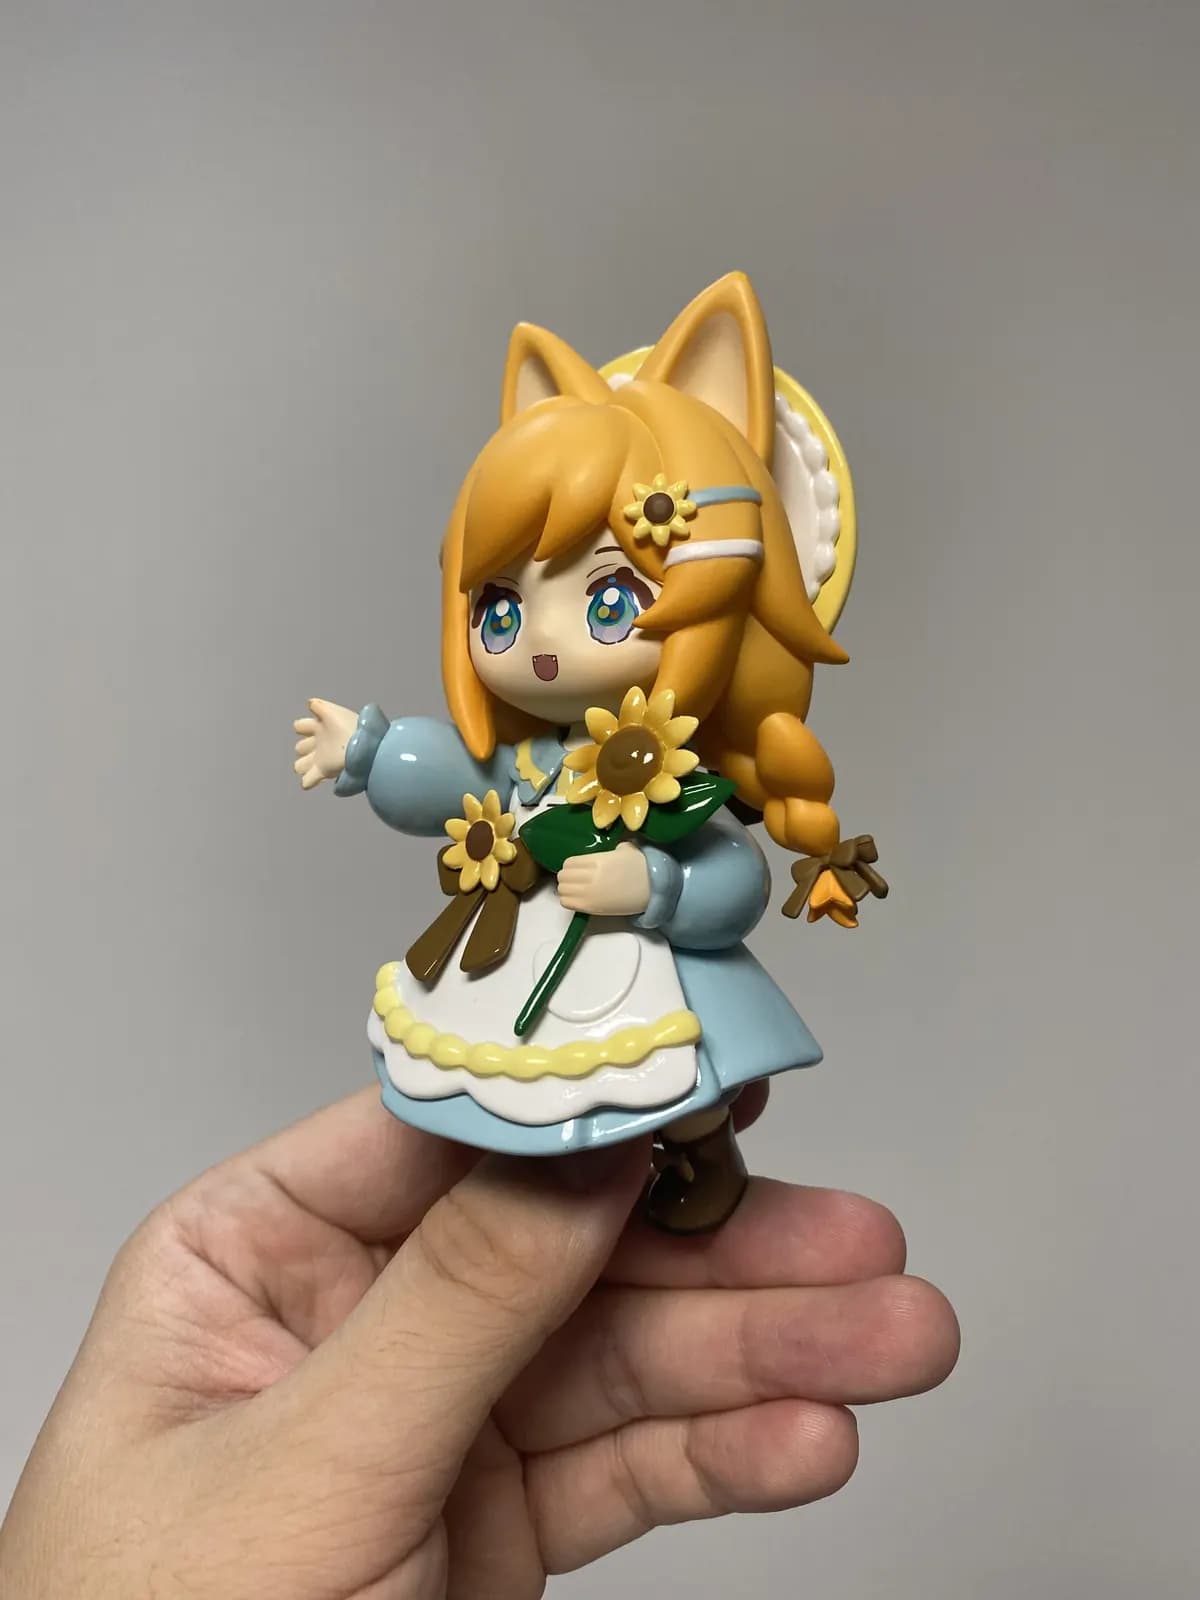
Automatic spray machines apply base colors and gradients, multi-color pad printing adds eyes and graphics, and painters hand finish blush and highlights. Parts dry on dust-free racks.
6. Plush sewing
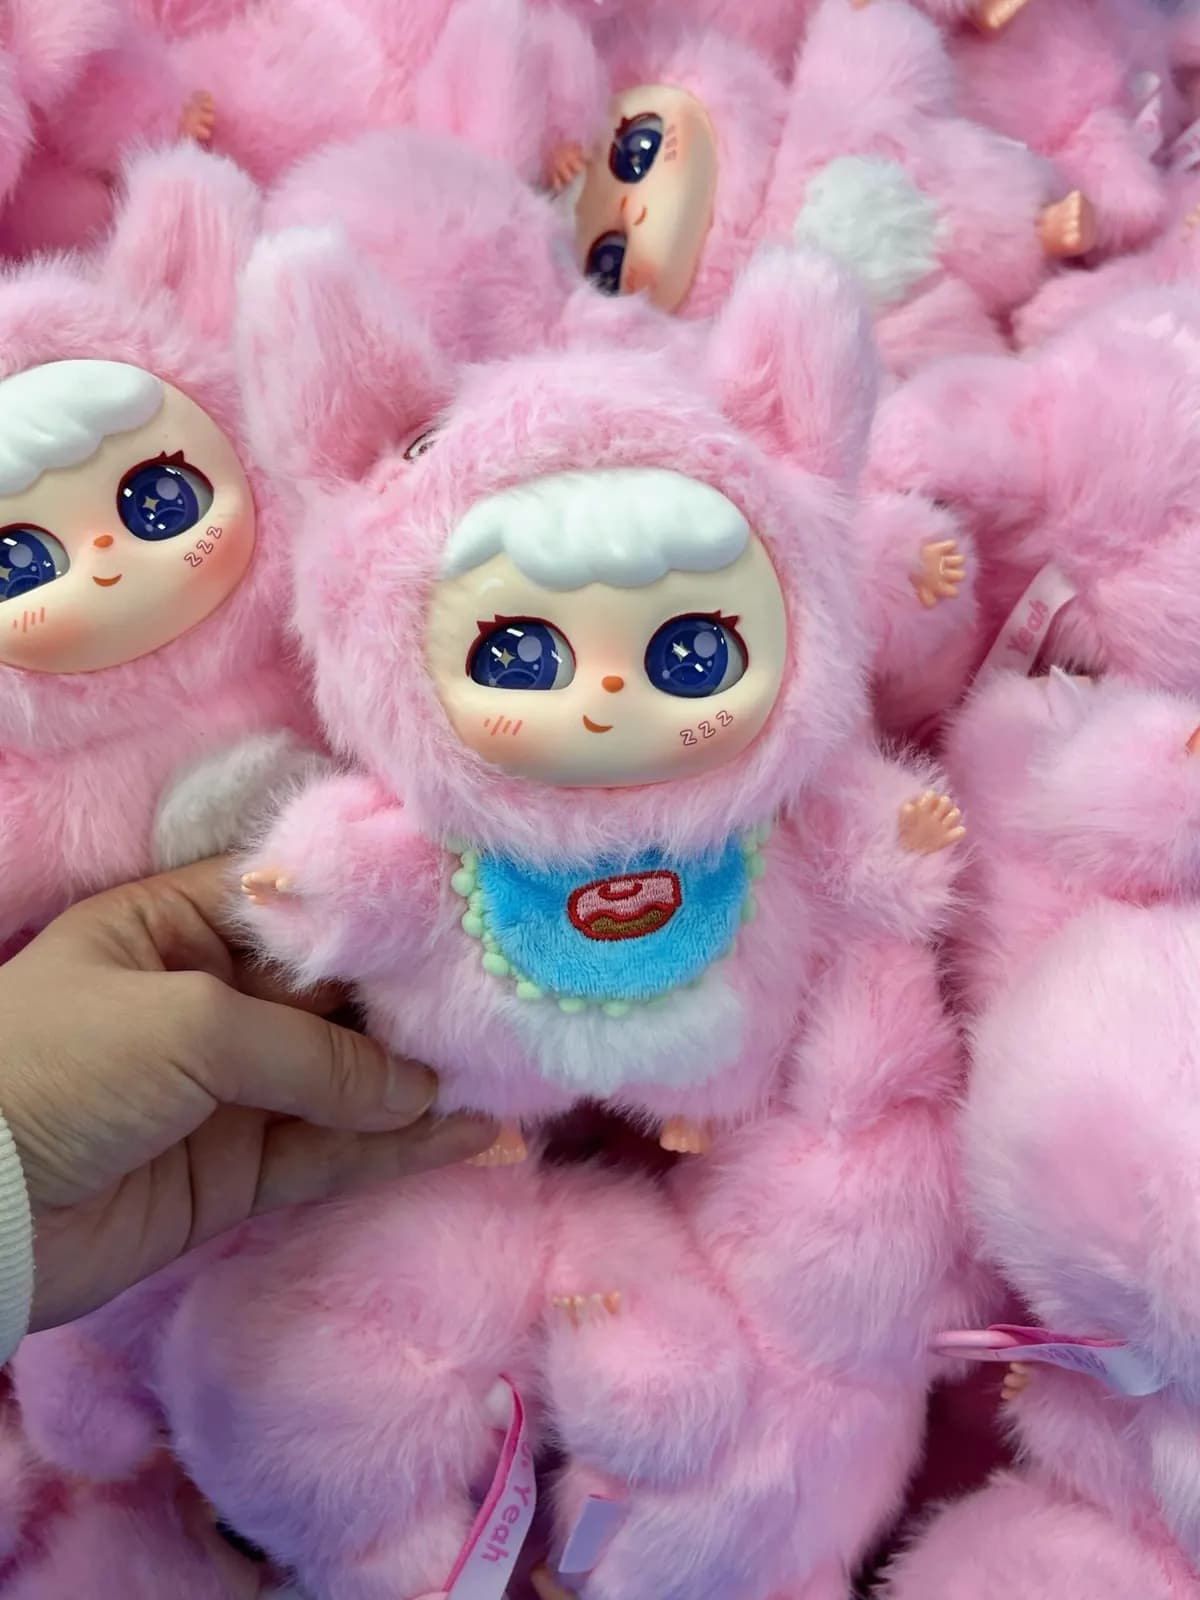
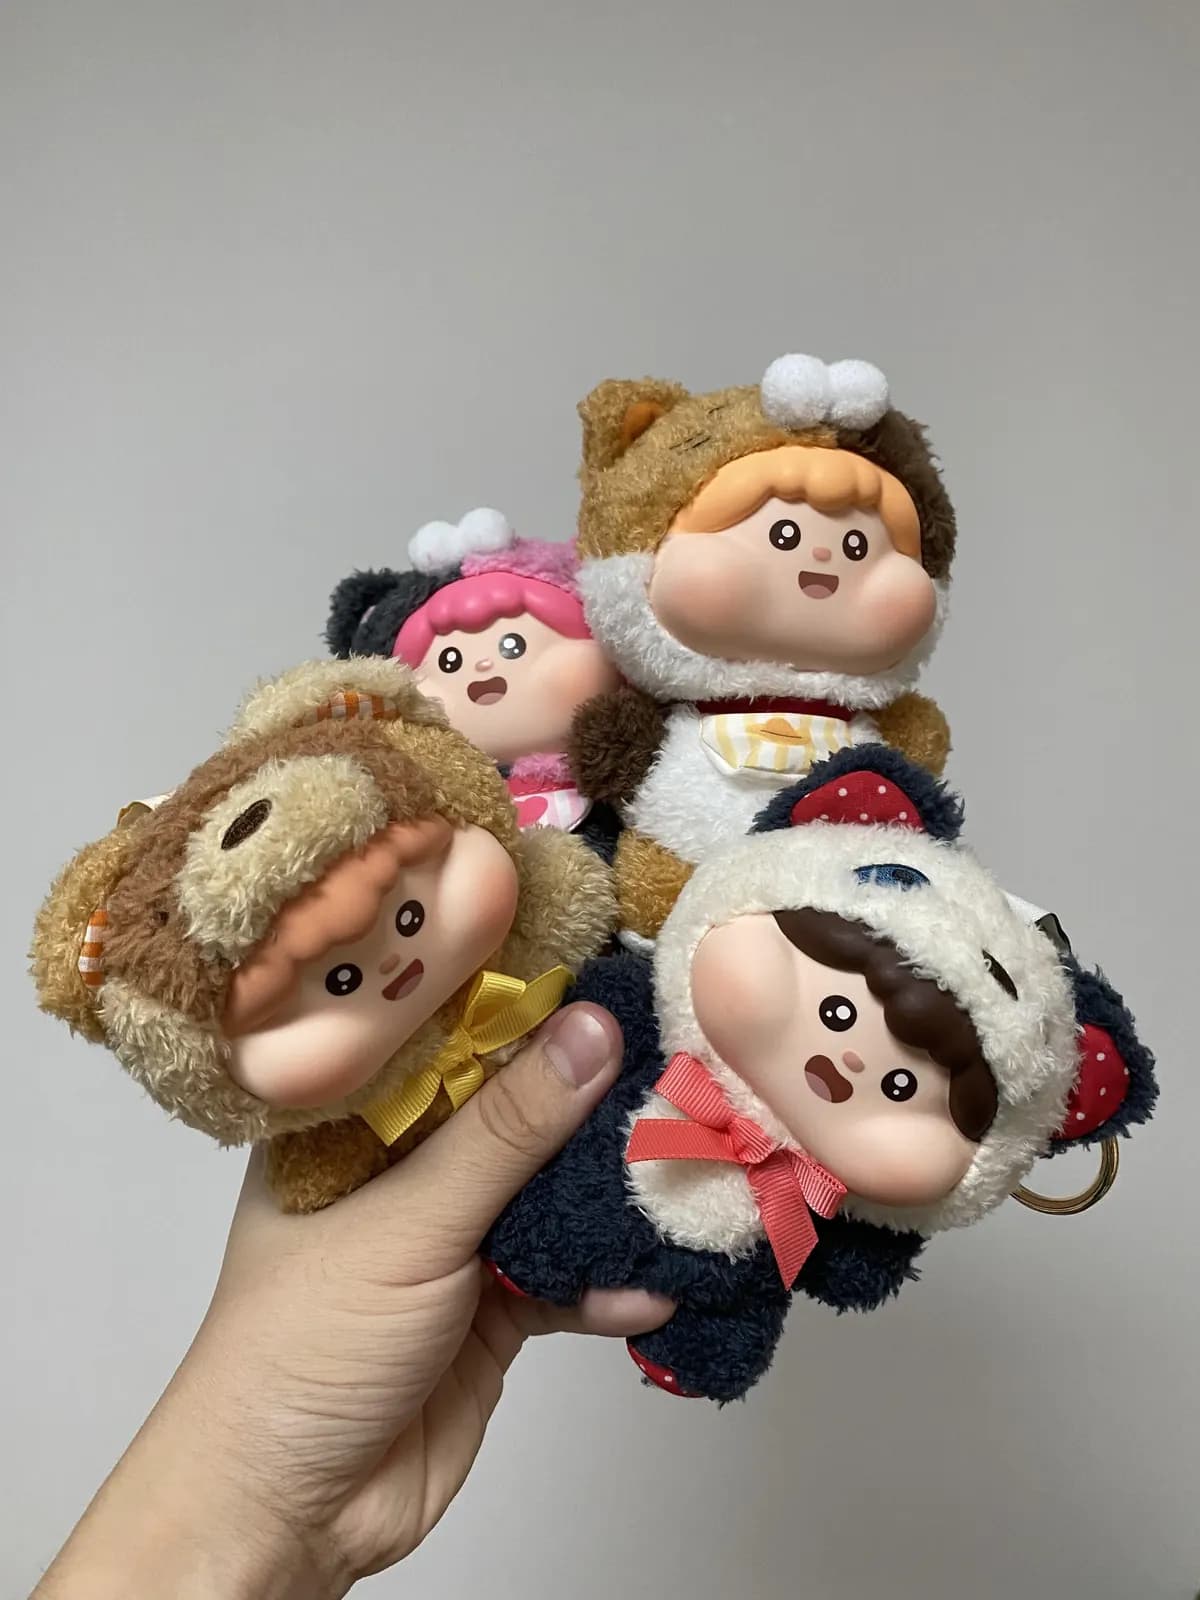
In parallel, the plush body and outfit are cut, embroidered, sewn and stuffed. Labels and hang loops are attached at this stage.
7. Assembly, QC and packing
Vinyl parts and plush are assembled, inspected in-line and checked again in a final AQL inspection. Products are packed into retail or blind boxes and export cartons, ready for shipping.